DIY Busy Board
“Ho Ho Oh no get out of that!”
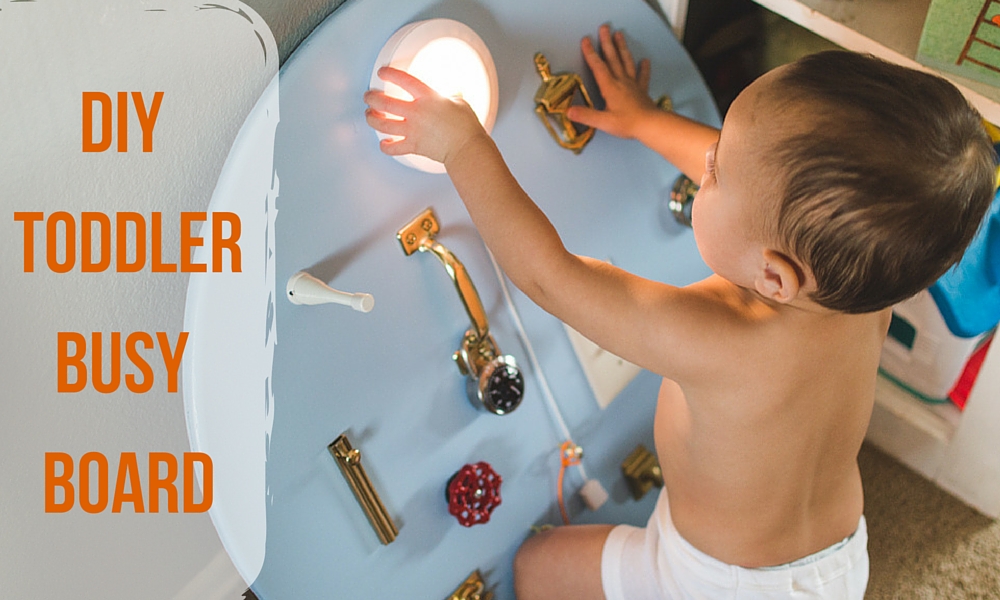
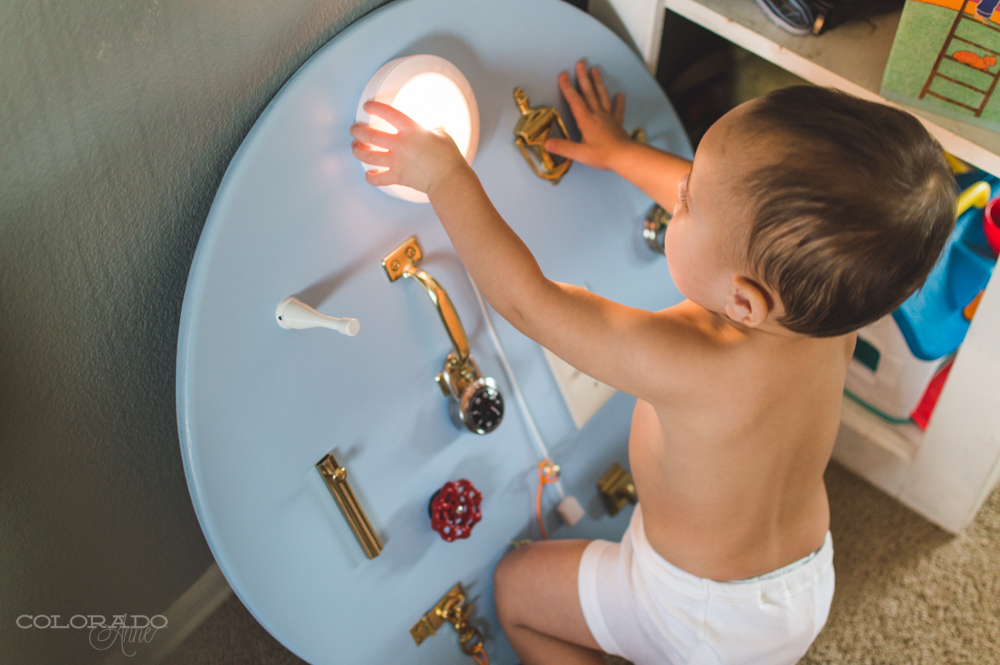
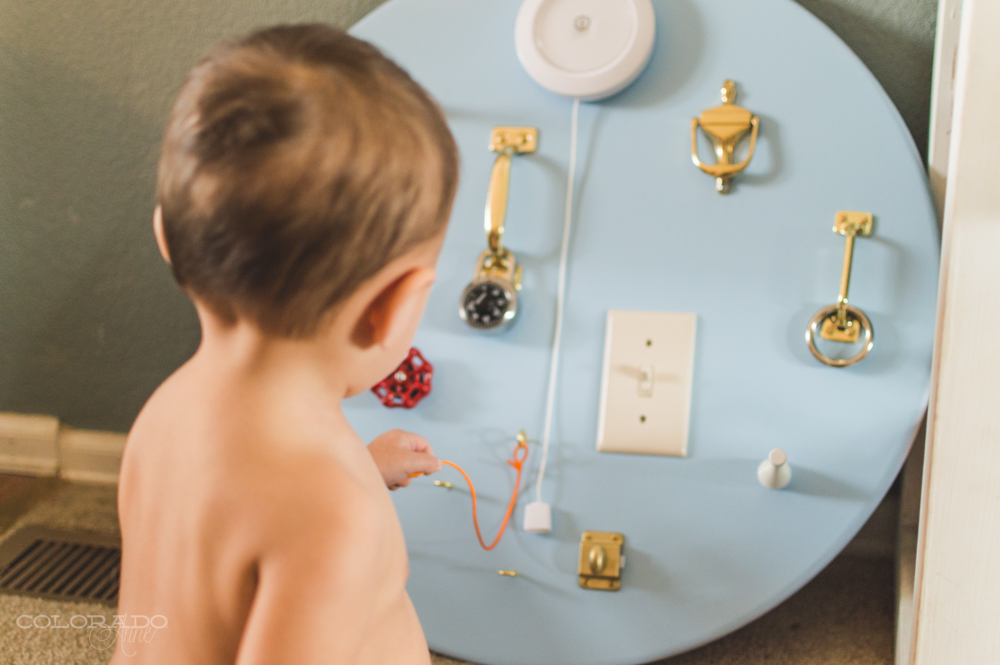
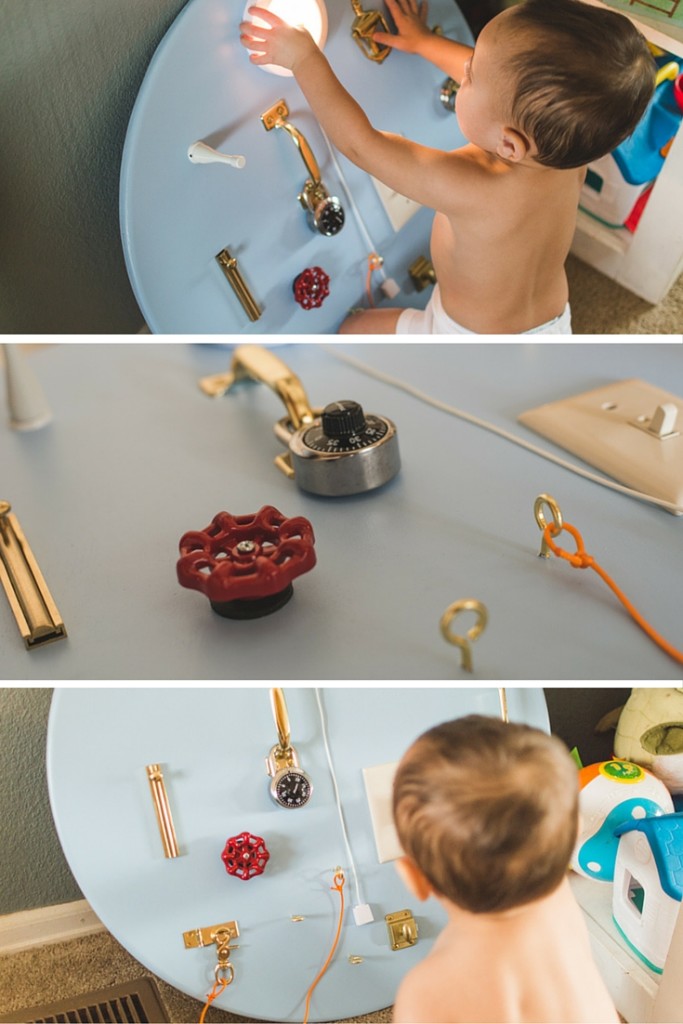
If this sounds like your life with a toddler, then maybe a busy board will be the perfect gift this year! Great news, you can make one of these busy boards on your own for a fairly inexpensive investment in time and money.
Now I have seen plenty examples of these boards on Pinterest just like the rest of you, but I did not find any steps on creating one…so don’t worry fellow crafters, I stumbled and managed my way through this one for you!
Supplies:
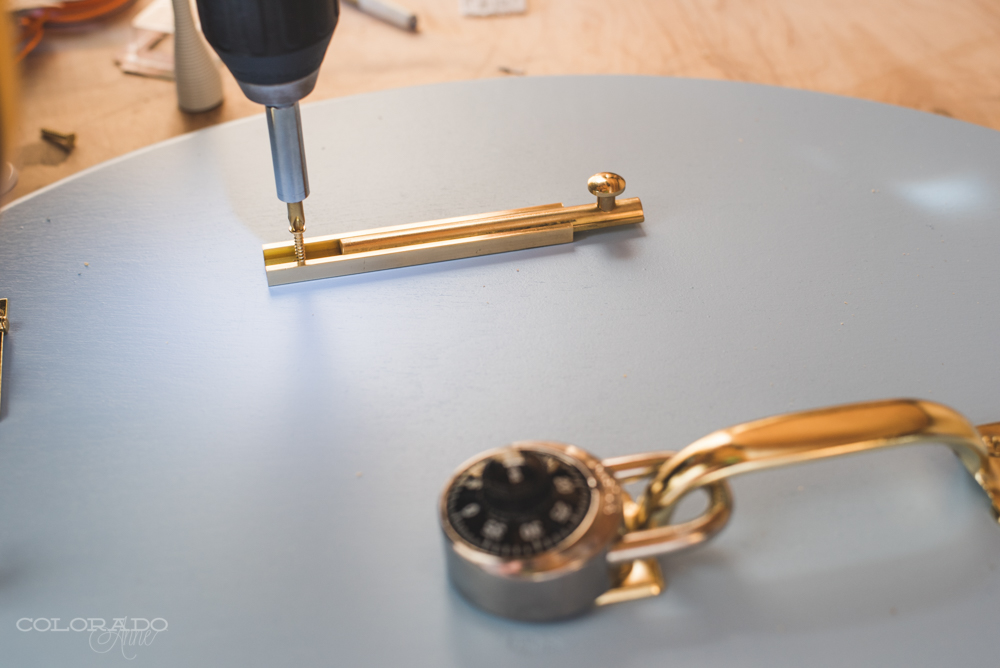
- Drill – Borrowed from husband
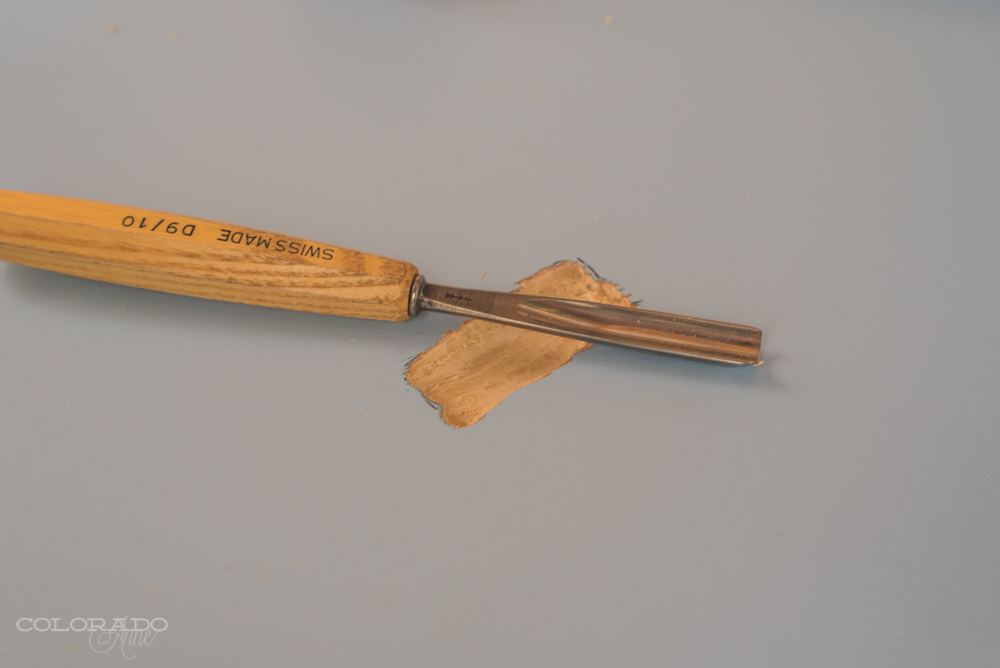
- Wood chisels of various sizes – Already owned
- Sander – Also borrowed from husband
- Blue Spray Paint – Spray paint stash
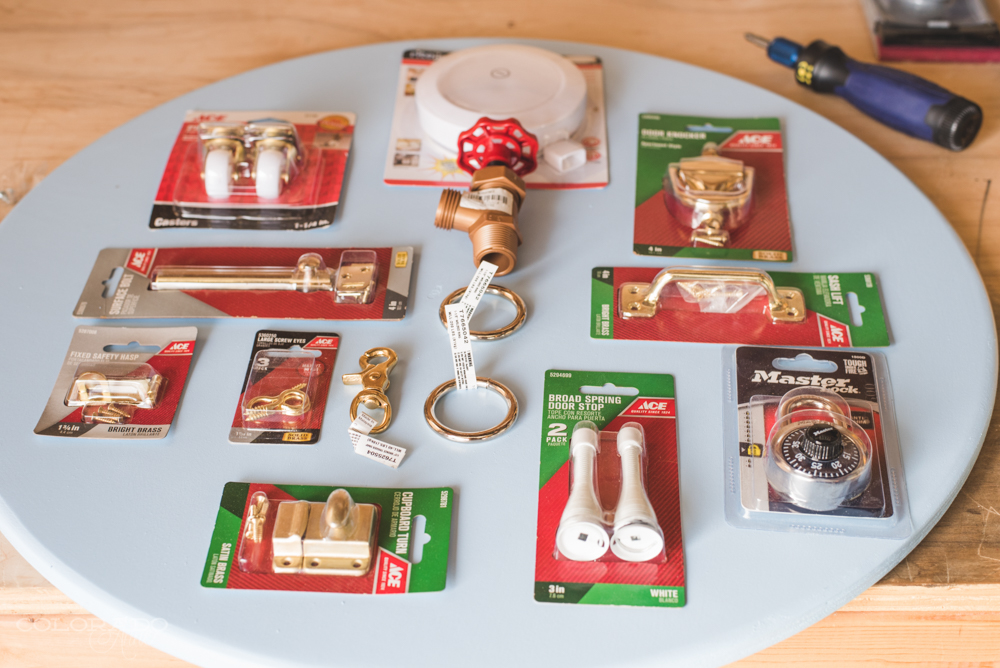
- Small wood table round – Ace Hardware
- Door knocker – Ace Hardware
- Push light – Ace Hardware
- Eye hooks – Ace Hardware
- Sliding lock – Ace Hardware
- Combination lock – Ace Hardware
- Door stops – Ace Hardware
- Light switch – Ace Hardware
- Faucet knob – Ace Hardware
- Cabinet handles – Ace Hardware
- Metal Rings – Ace Hardware
- Metal Clip – Ace Hardware
- Rope or ribbon – from deep supply of ribbons and trim
Steps:
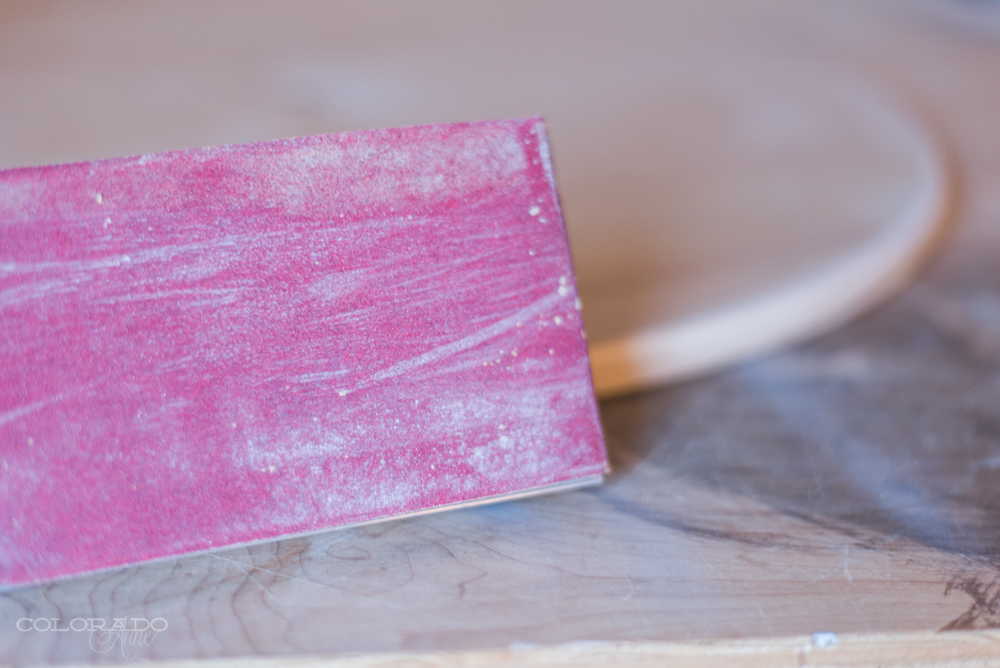
Sand the wood circle to make sure it is nice and smooth for little fingers.
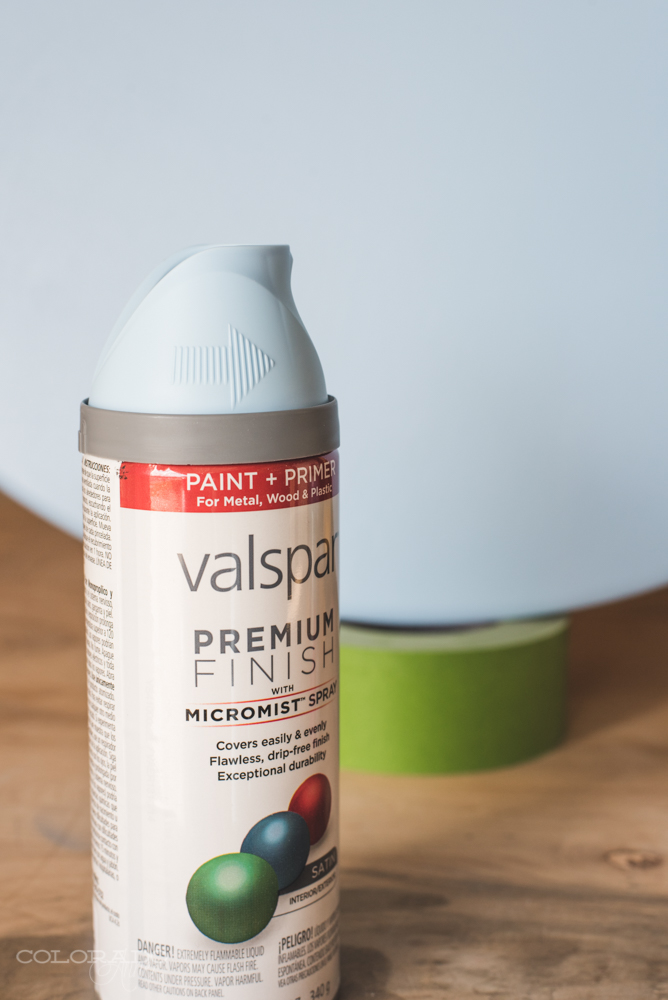
Spray paint the circle. A few coats on each side are enough with this spray paint, but be sure to leave a few hours between coats for drying (takes a bit longer than usual to dry in the cold of winter).
Lay out your supplies in the general areas you want to place them on the finished board.
CAREFULLY remove items from packaging, one at a time to place on the board. I say carefully, because if you hulk out like I did and rip open a package with reckless abandon you may or may not lose a screw and may need to get creative about finding a replacement.
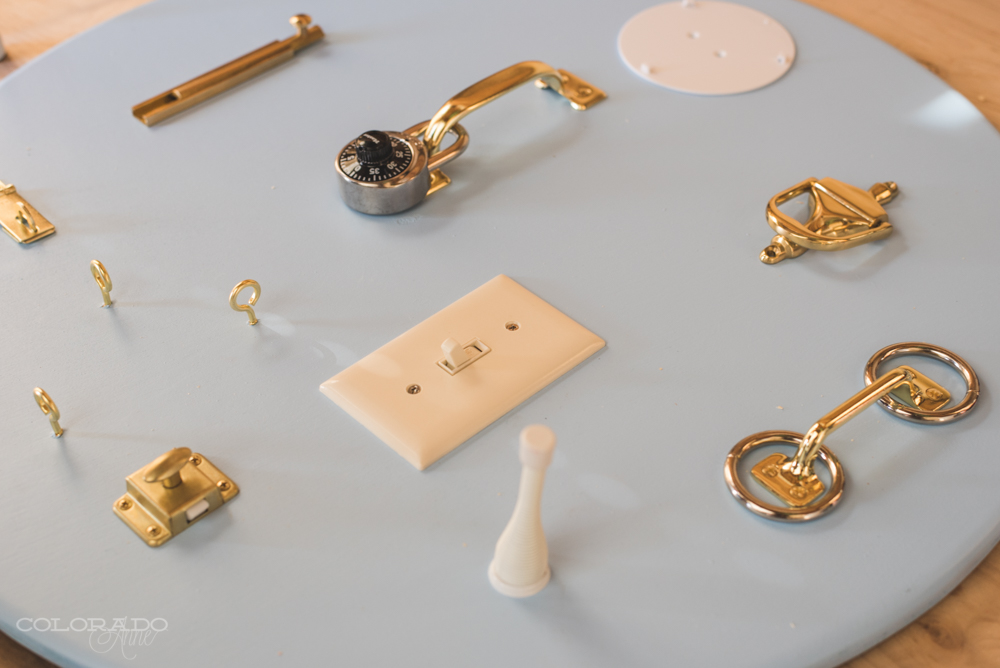
For the light switch, you will need so do a little more work than just screwing it onto the board. To get the plate flush with the board remove all those box guts (technical term) and chisel out a small space where the switch box will fit.
Tie the thin rope to the clasp and one eye hook, making sure to melt the ends with a lighter to keep the ends from fraying.
Test each object on the board to make sure they are snug and ready for high volume toddler engagement, then call it a wrap. Time to entertain that toddler!
I definitely think there are other items that could be added to a busy board and it all depends on what your little one is into, maybe velcro and zippers or doorbell? The sky is the limit for something fun like this. Hit up your local hardware store and don’t be afraid to ask an associate for help getting ideas on what will work best and what size screws you might need.
Supplies from Ace Hardware were generously supplied by Ace. Thanks so much Ace!



'Perfect Present for Busy Toddlers' have 2 comments
March 8, 2016 @ 3:46 pm Cyndy Rhoadarmer
Love this! Question – what is the string for coming from the light? Or did you use a pull cord instead of push light? My daughter and I are getting ready to make this for my grandson’s 1st birthday. Thanks to Tonya for introducing you on FB. 😊
Cyndy
May 10, 2016 @ 5:25 pm Anne
Hi Cyndy,
I’m sorry for the delayed response! The cord from the push light was included with the light. It’s either a push or pull string light which I thought was fun for a busy toddler! I hope your board went well. 🙂